Last updated on February 19th, 2025 at 10:22 am

How do you create a dual RV desk workstation in a fifth wheel?
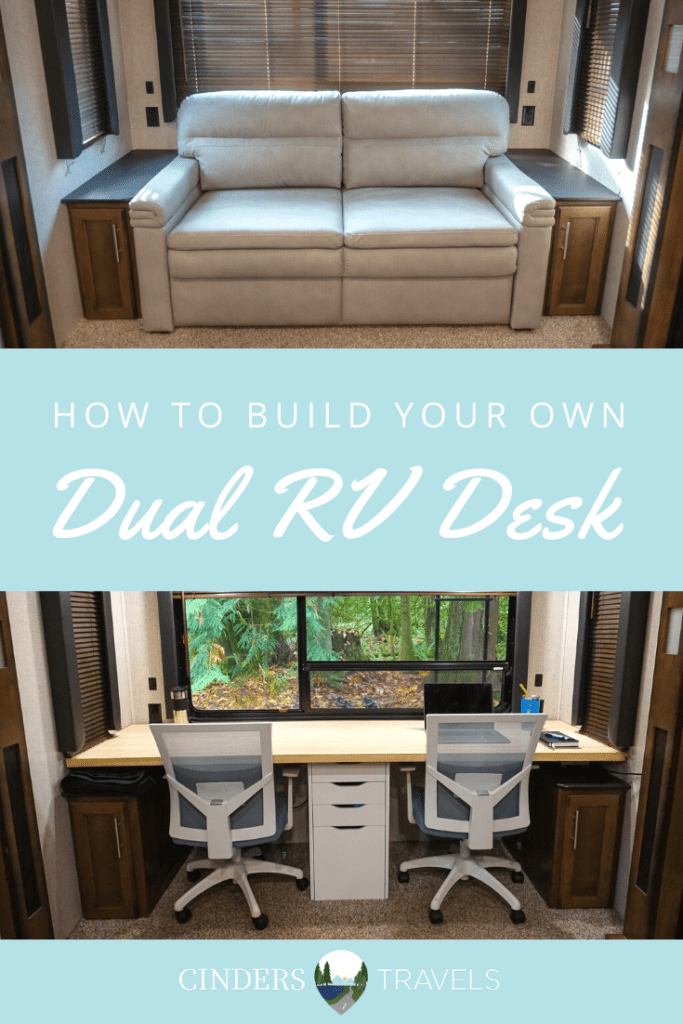
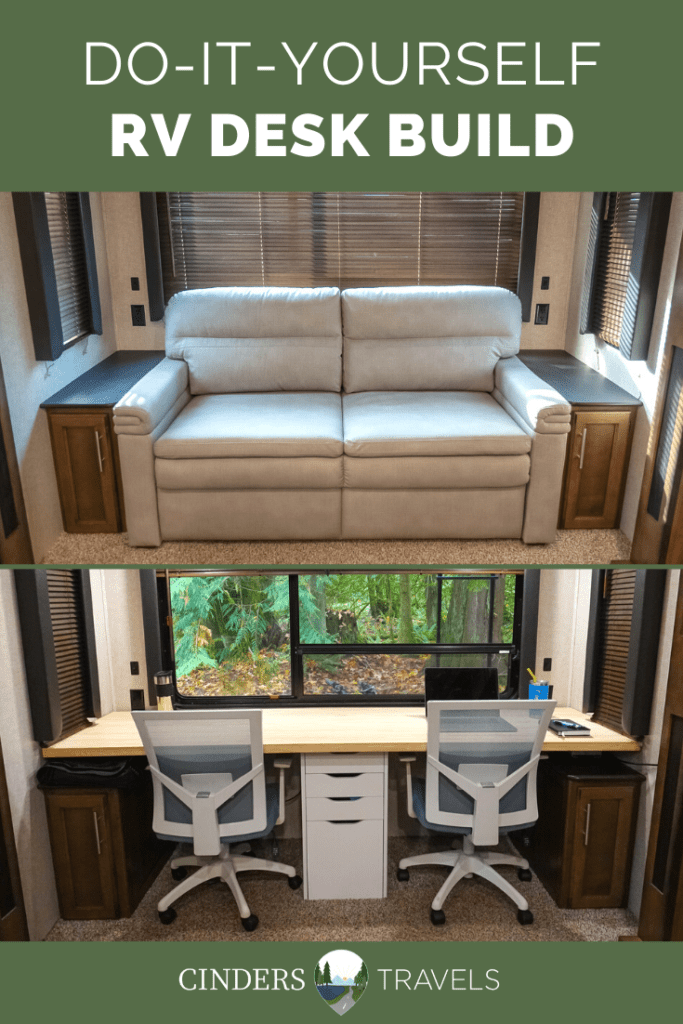
Below, you’ll find step-by-step instructions on how to build the same dual RV desk we used as our workstation in our RV.
Hey there! I’m Cindy. 🙋♀️
My husband Barrett and I were full-time RVers from 2018 to 2021. We traveled with our furry cat friends Vodka, Squirt & Dakota, and a Corgi pup, Marty.

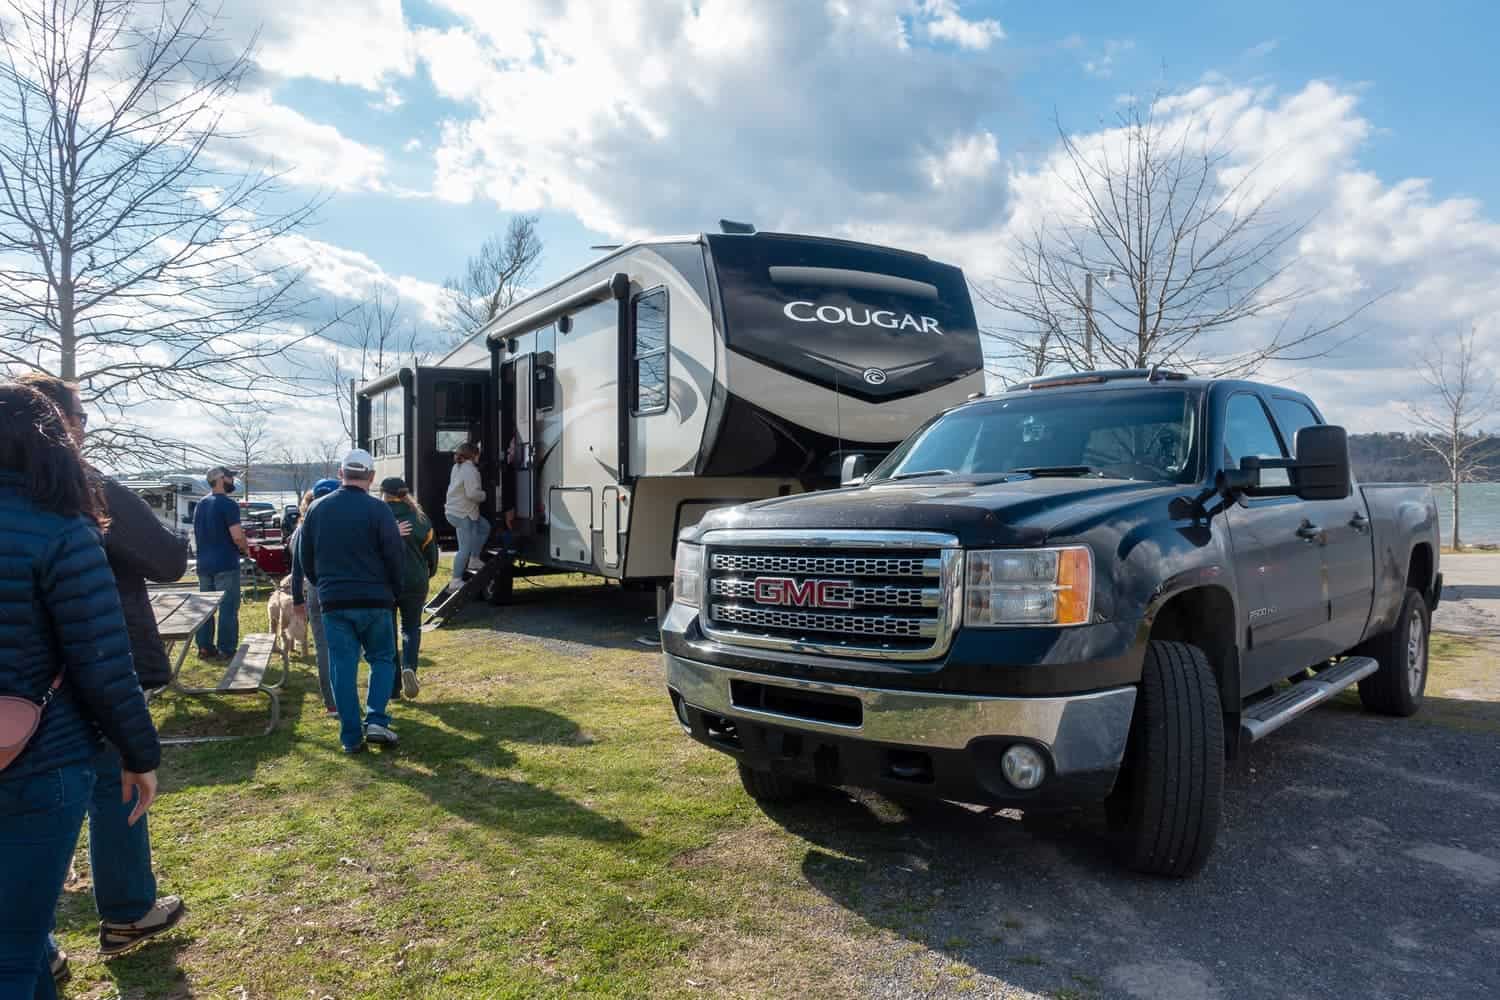
The Cougar has traveled over 20,000 miles and provided us a place to live in 31 US states since purchasing it new back in 2018!
In 2019, we opened our home for an RV tour at the RV Entrepreneur Summit!
We only signed up for the tour in the first place because a few attendees had asked us if we would be showing off the 2 person RV desk workstation we created.

Honestly, I’ve been waiting to show off the inside of the RV because there are a lot of projects inside of it that are a work in progress.
We still need to get rid of all of the valances and blinds. The WeBoost wires are lying all around because we have not finished that installation.
We don’t even have office chairs yet. (UPDATE: we do now; chairs are included later in the post below.)
So I’ve been holding back, wanting it to look perfect for this post.
But after the tour, I realized the RV will probably always be a work in progress, so I decided it was the time to share.
UPDATE: I’ve posted updates below as the RV desk area evolved and became more pieced together!
The Dual RV Desk Idea
RV Search
The drawing board for our dual RV desk started back in October when we began our RV search. A big part of the hunt involved finding a unit that had a spot with a large window and a couch that would be easy to remove.
With Barrett going back to school and me needing a desk to work from, we knew we wanted a dual desk setup that would look outside at all of the beautiful places we would visit.
That way, even if we were stuck inside working all day, we would be reminded of how lucky we were to be able to have revolving scenery right outside our office window!
RV Floorplan Search
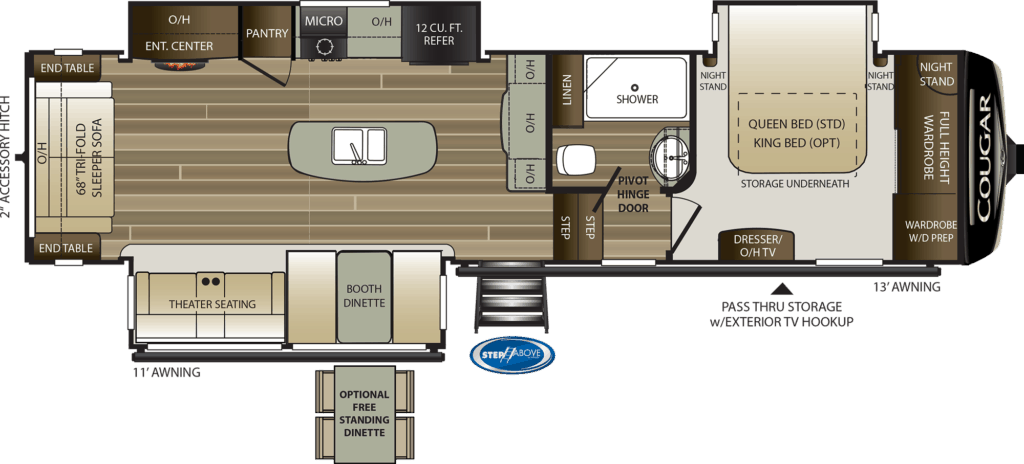
We also knew we wanted a layout with the feeling of separate living spaces. We wanted to feel like we worked in one area, relaxed in another, and then slept and got dressed in another.
One more thing we knew we wanted was a lot of kitchen counter space because Barrett loves to cook! And Barrett’s cooking is a significant contributing factor to keeping us on track with our budget and keeping us in acceptable physical shape.
(I keep encouraging Barrett to do guest recipe posts, so if you’re reading this and you know him, give that guy a digital nudge and tell him to share some recipes! Hell, even if you don’t know him but love recipes, feel free to email him and let him know you want to see some!)
Therefore, with these layout desires in mind and the knowledge that after much research, we were leaning toward the Keystone brand, we went shopping.
I had told Barrett not to fall in love with anything new because we were shopping for an old rig. We were just going to Camping World to look at some and get a better idea of what model numbers we liked.
I didn’t want to pay for the drive off the lot gap, but when we walked into one particular rig with a big back window, two counters, a kitchen island, and a little bit of a bigger fridge, we were in love.
Then, we found out this particular model was brand new. There were no older models of it.
I knew at that moment that we would be buying new after all.
Couch Removal
So I’ll fast-forward here. Before we knew it, our life in an RV journey had begun!
Our first day arriving anywhere with the rig was at a Jellystone Park in Williamsport, MD.
The next day, Barrett was going to be gone all day, and I had one day to unpack every box and get everything into its proper place so that we could host our first family potluck that evening. We decided to keep the couch in place until after the potluck so people had an extra place to sit.
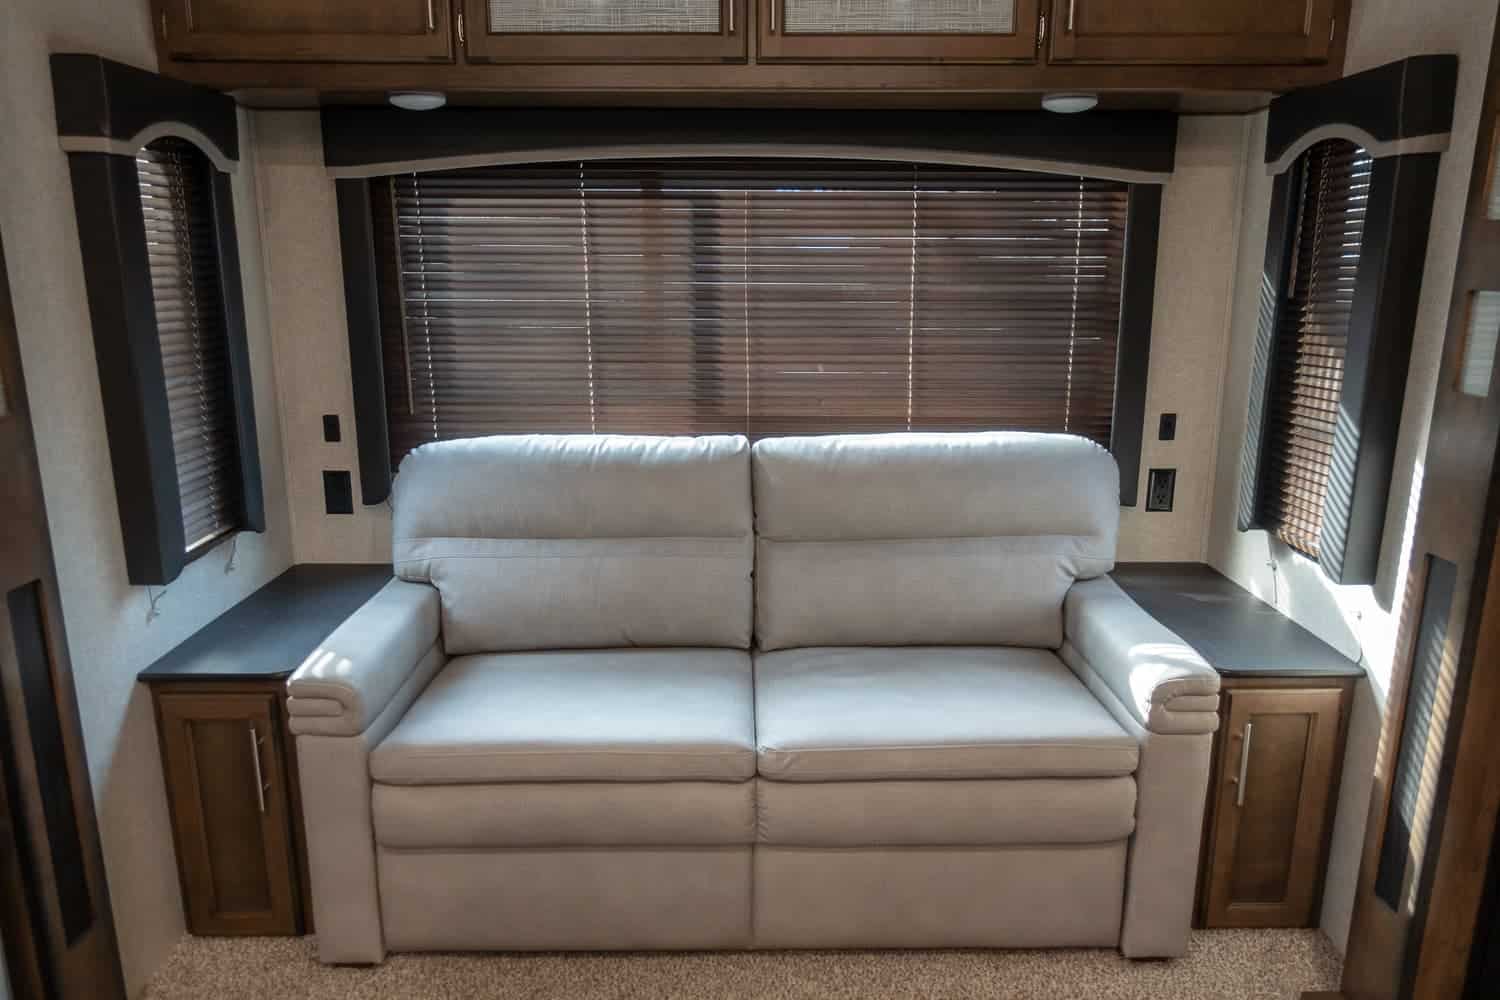
The next morning, I wish I had been able to video the removal process because it was hilarious, but I needed to help with actually removing the couch.
Eventually, we got the giant couch out of our tiny RV door in the middle of a Jellystone Park.
I like to think Barrett and I provided entertainment for the cabin campers in our area that day.
After a bit of cursing and frustration, we finally got the thing into the truck and headed to our storage unit.
Barrett’s Dad wisely decided to meet us there instead of at the campground. He helped us get the couch all wrapped up and into storage.
So whoever buys this baby later someday will get a beautiful brand new couch with it!
Why Include This Couch Bit?
I include this part of the story because a lot of people have asked us how difficult the removal process was. Many have assumed getting the couch disconnected was the hardest part.
Well, guess what was holding that couch in place? One screw. You read that right.
And the same could be said for the recliners we also removed later in our journey, and that screw was already halfway out of the ground.
So the manufacturers do not do much to connect these pieces to the floor.
My guess is they figure they’re so heavy that they aren’t going anywhere. We’ve been moving forward with that assumption with our new couch, and so far, there’s been no movement.
How To Convert a Portion of Your RV into an Office
Dual RV Desk Build – Phase One
After Maryland, we drove down to Florida with a giant empty gap in the back of the rig. Once we arrived in the sunny warmth, the desktop creation began, and it went through a couple of phases. We originally had this very basic idea of going to Home Depot, buying two pine boards, and then sanding and staining them.
Home Depot Run
It took us over a week to pick the wood we wanted to use and the stain color. Not because we were in disagreement. Purely because we were so worn out on decisions at this particular point of our journey.
We had just spent three months deciding what we needed to get rid of in our house, which ended up being pretty much everything. It was a long, exhausting path that led us to that realization.
Every day I was coming to terms with the fact that I needed less and less. Then I had to find out how to get rid of a whole new batch of stuff.
During that period, so many choices were also being made on our truck, our rig, our surge protector, our water filter, and so on. You get the idea. By the time we got to Florida, we were on decision burnout.
Dual RV Desk Sanding and Staining
We eventually made some decisions and bought everything we needed.
We had to have a tiny amount of the boards cut off at Home Depot.
Once we got them back, we spent the rest of the evening sanding the ends and applying stain onto the boards.
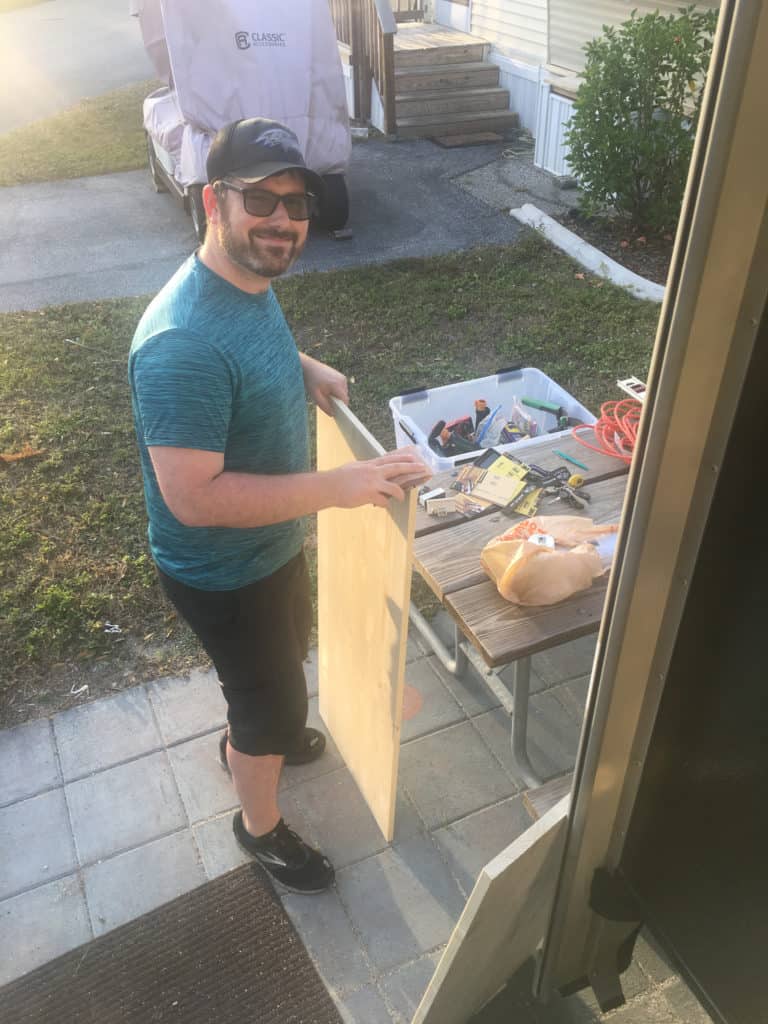
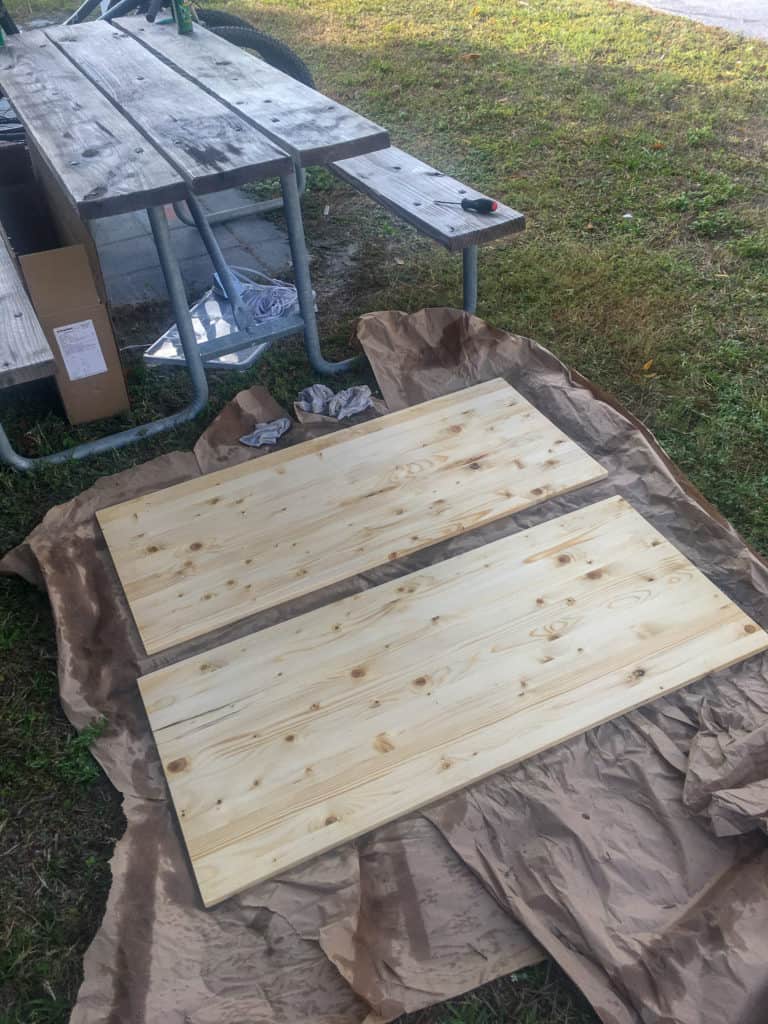
Now, I don’t know if this is the nature of pine or if it was just the Florida humidity. Perhaps a reader can inform me of this. But after a few hours, I peeked at them out the window and thought I started to notice them curving.
I went to bed, convincing myself I was crazy. However, upon waking up the next morning, I again peeked out the window, and nope.
They had warped into a beautiful concave surface.
I was nervous to tell Barrett, and then once I did, we were both afraid to go outside. We knew we’d have to approach them and admit defeat.
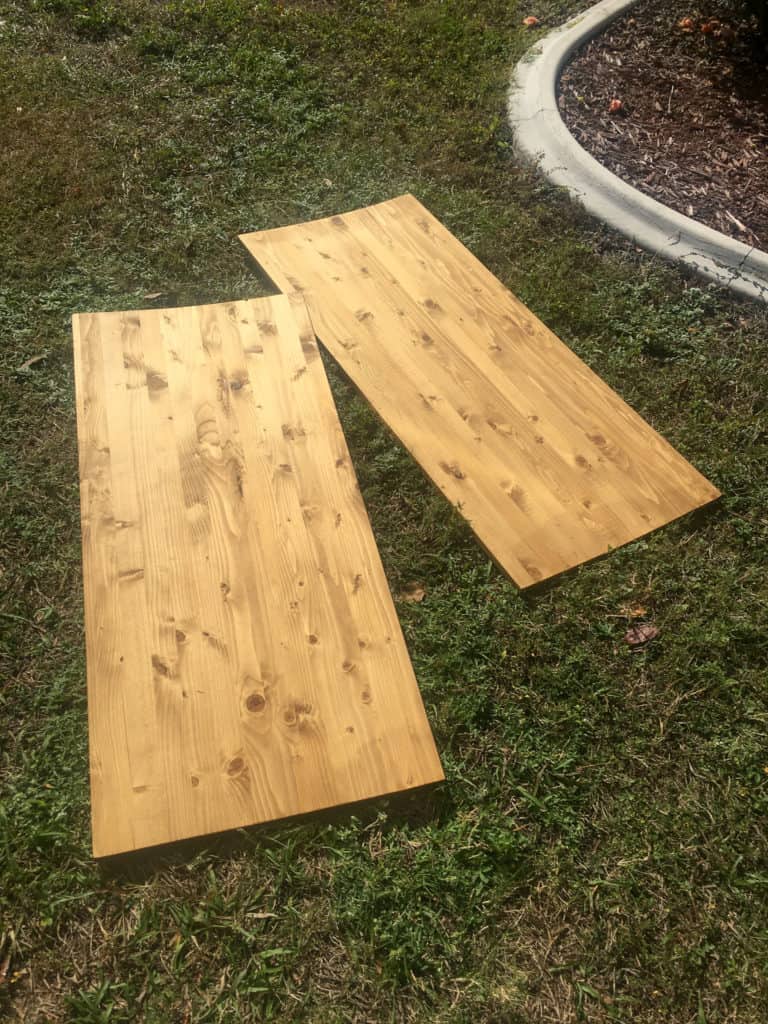
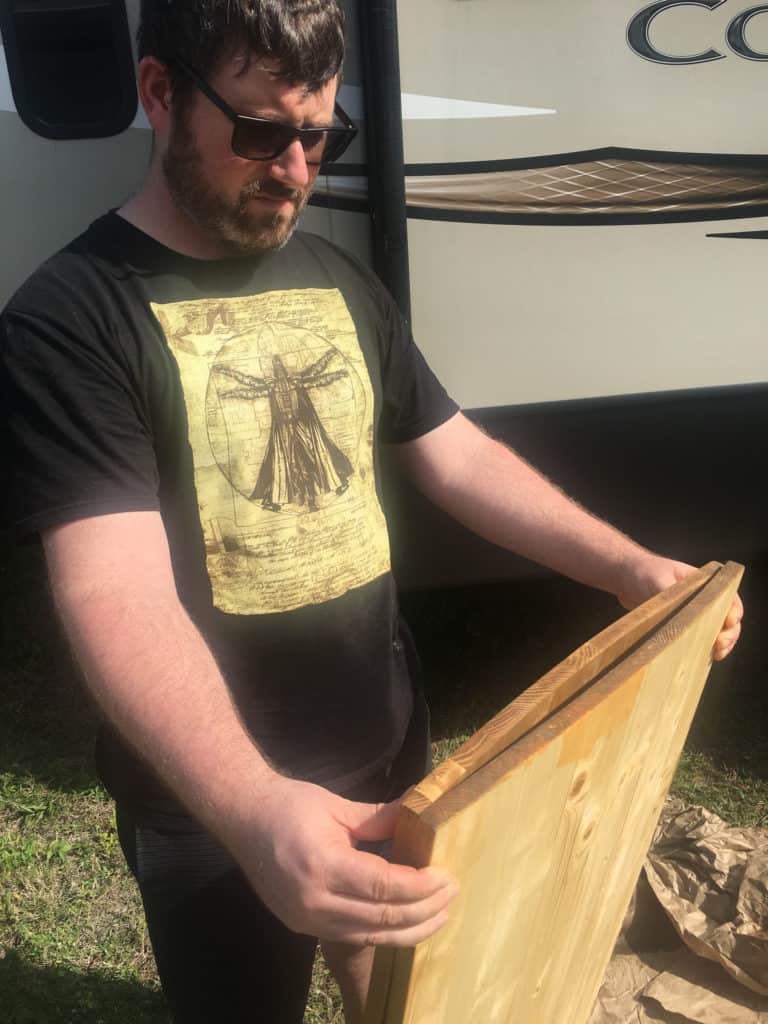
So eventually, once we had admitted failure, I tossed the boards in the back of the truck and Barrett drove off with them, never to be seen again.
Dual RV Desk Build – Phase Two
Ikea Home Office Storage Cabinets
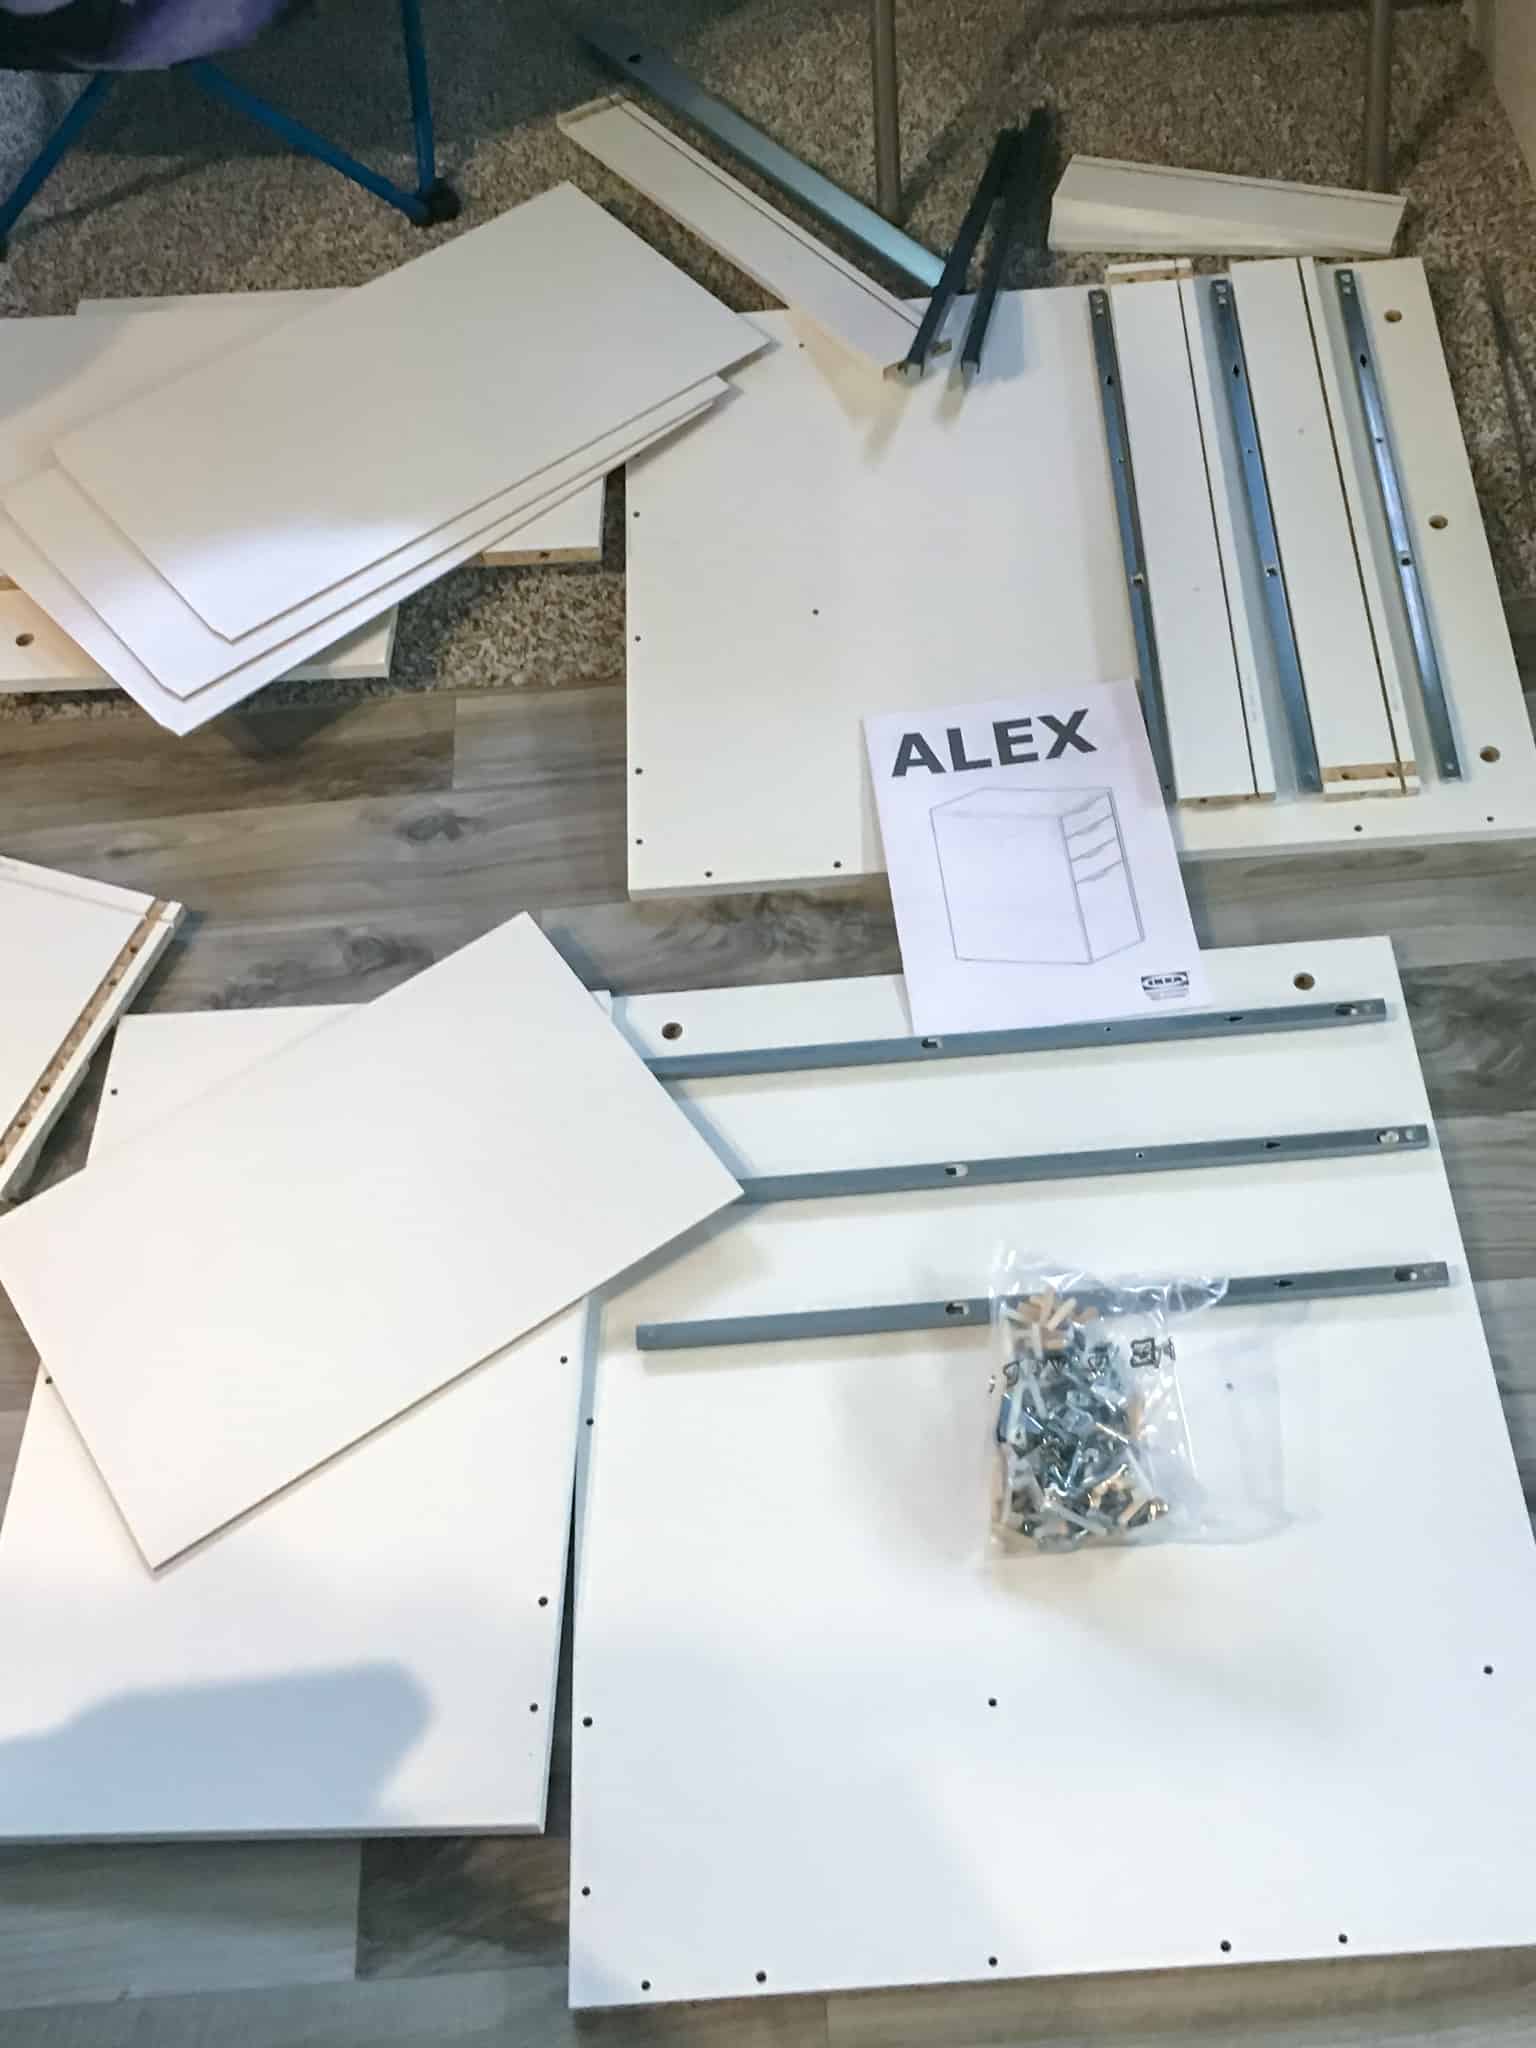
Phase two starts with one piece I have not mentioned
We had searched in several stores for a piece that could serve as the lower middle divider to split the space into two workspaces. We also wanted to make sure the piece would serve as a storage space.
This IKEA piece was perfect due to its height. The 27.5″ height lent itself to the perfect height for our desktop to rest. So we had already made a trip to IKEA earlier in the week to purchase that cabinet and assembled it.
When we told my mom what had happened with the pine, she mentioned, “You know, Ikea also has kitchen countertops.”
Back we went!
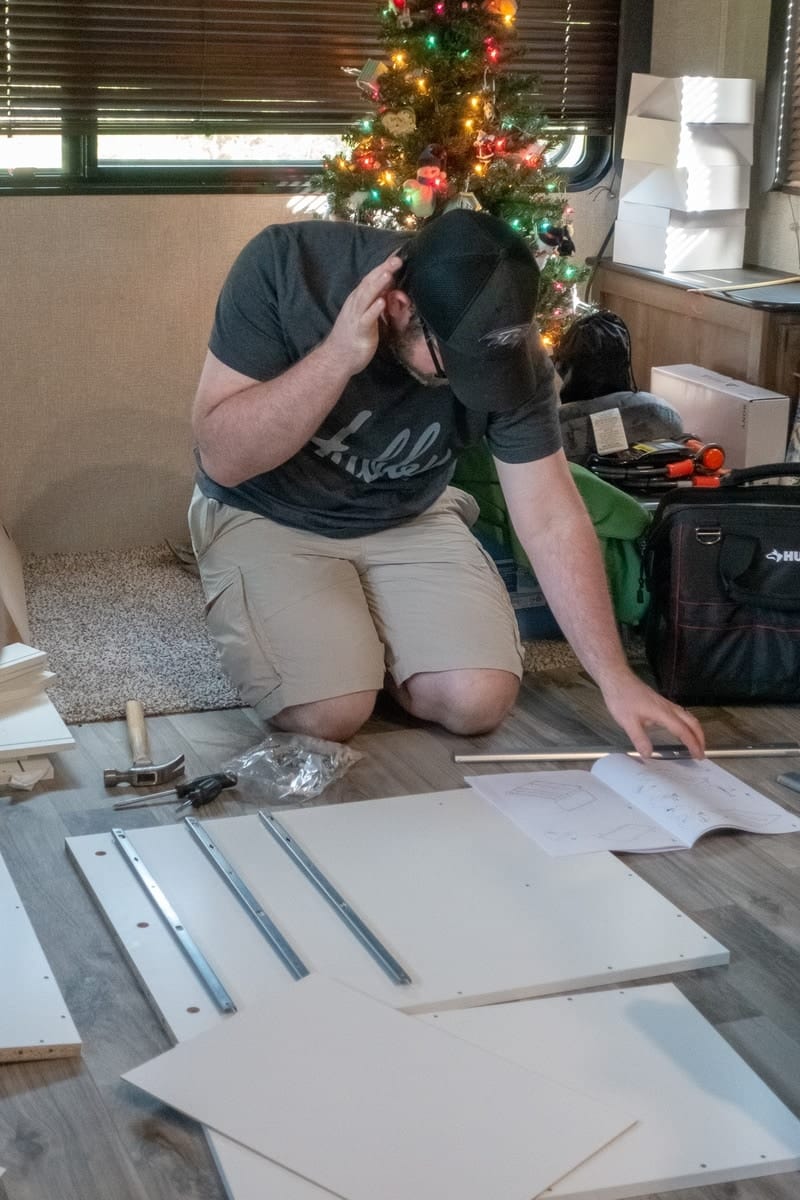
Dual RV Desk Tabletop
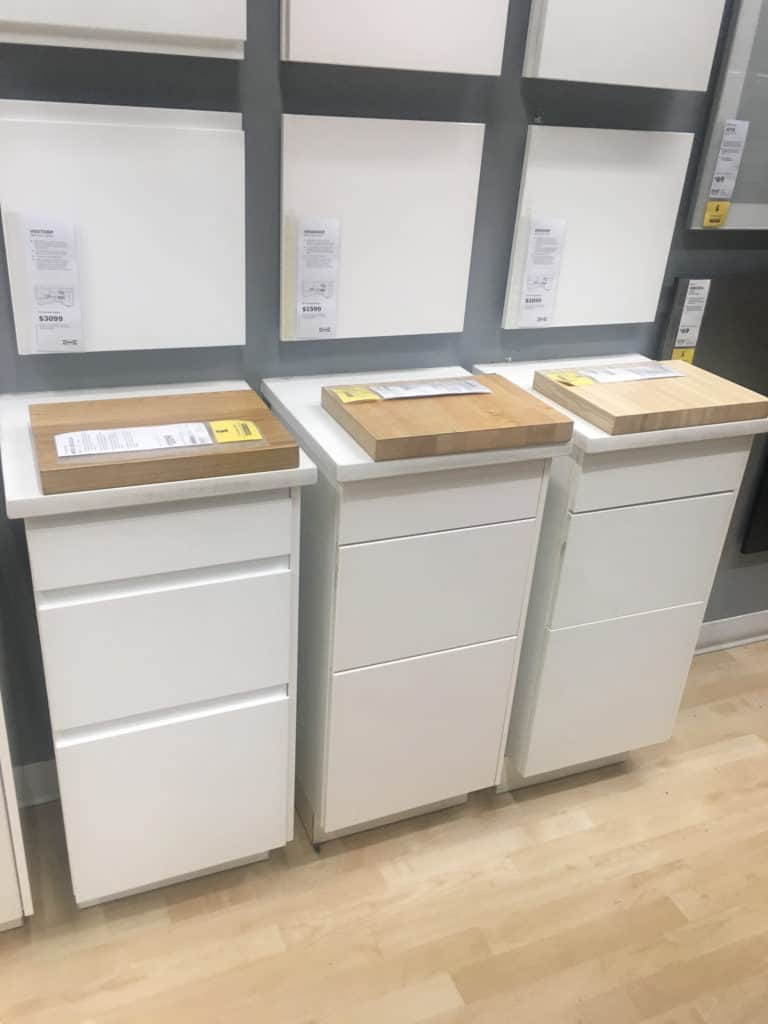
Well, she was right. IKEA definitely has kitchen countertops, a lot!
We knew we wanted a light color. Our goal was to lighten up the inside of the RV, project by project. But which lighter color, we couldn’t decide.
I could tell we were just so worn out because we’d never been this bad at making decisions. We were between three and then between two and then found a new one to throw into the mix, and then we got it back down to two again.
After a few hours, we ended up buying both of the finalists because we truly could not decide. We brought them back to the RV, picked the one that looked best, and then returned the other one later on.
The pieces they sell are specifically 98″ in length. IKEA doesn’t cut them for customers. To fill the space, we needed the piece to be 92.5″ in length.
I called my handy Dad, but he initially had no interest in helping, fearful of messing it up. Fair enough, I guess I can be a tough critic. But after having the project up on some websites such as Thumbtack and Craigslist for about a week, Dad eventually caved.
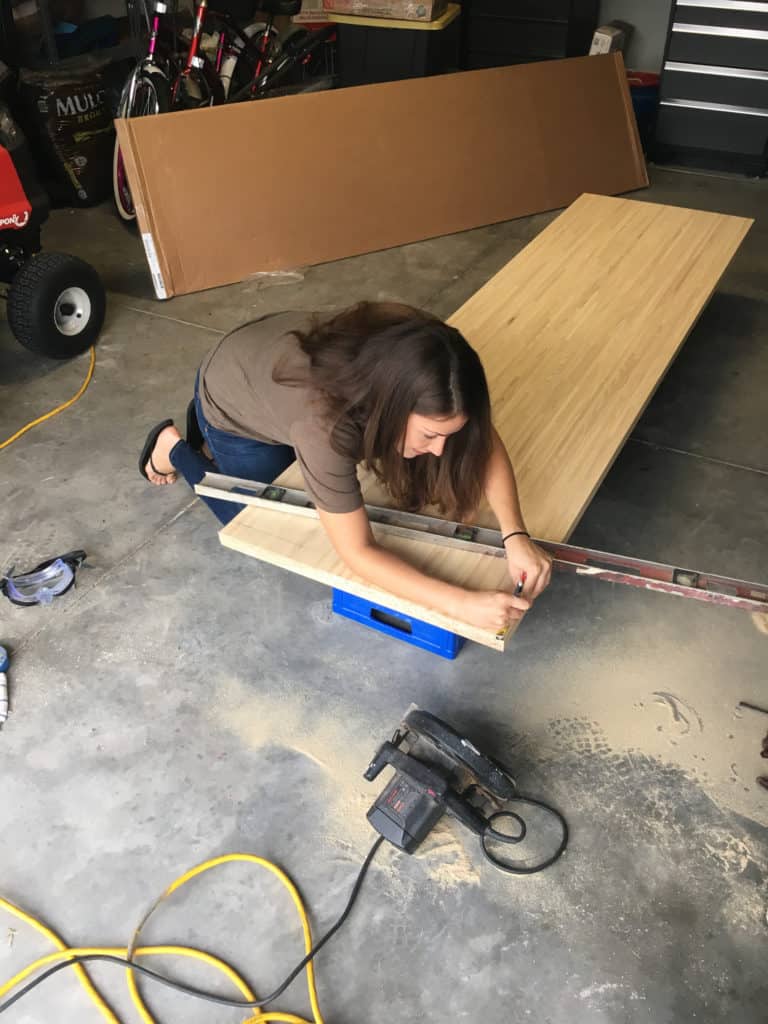
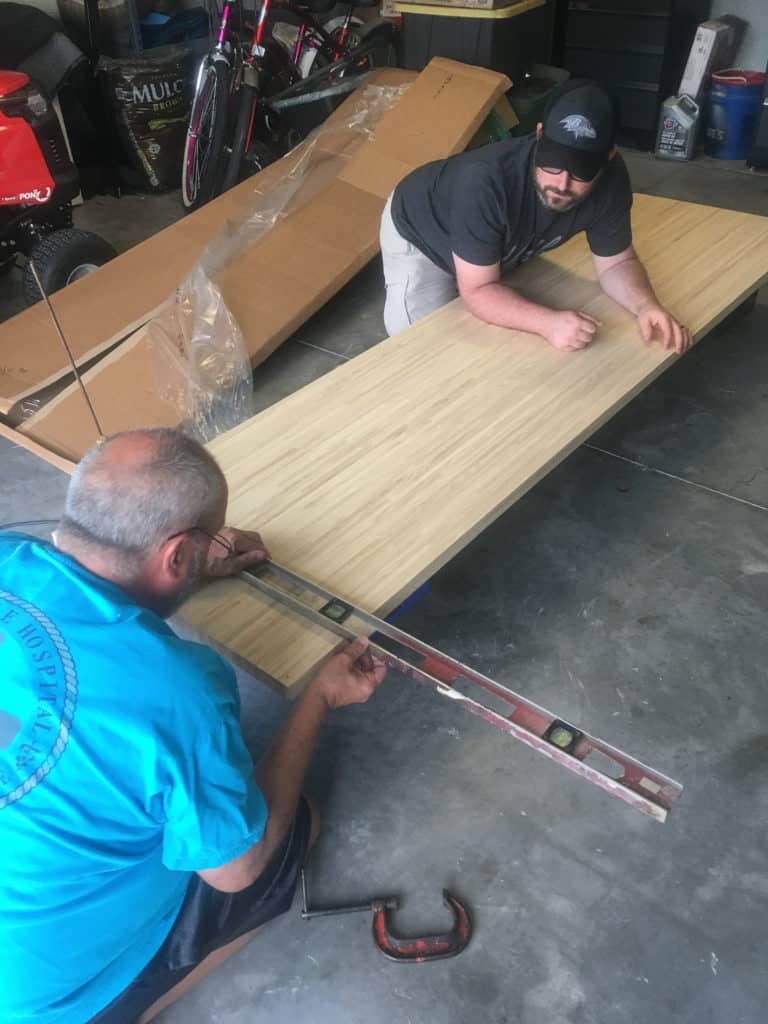
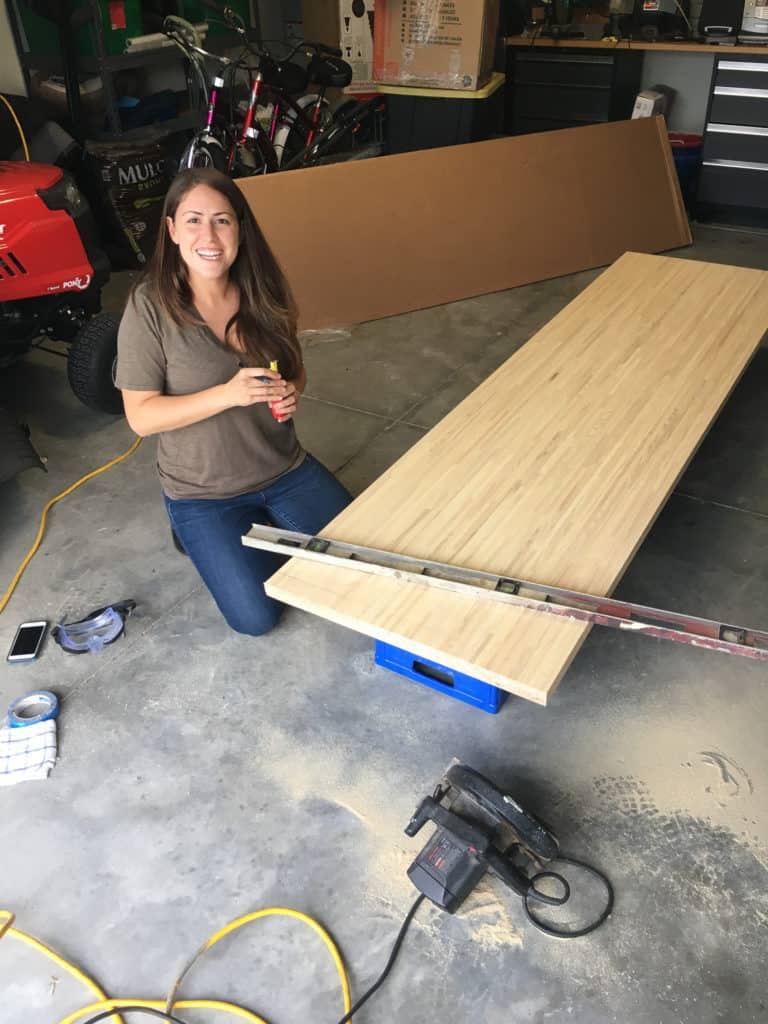
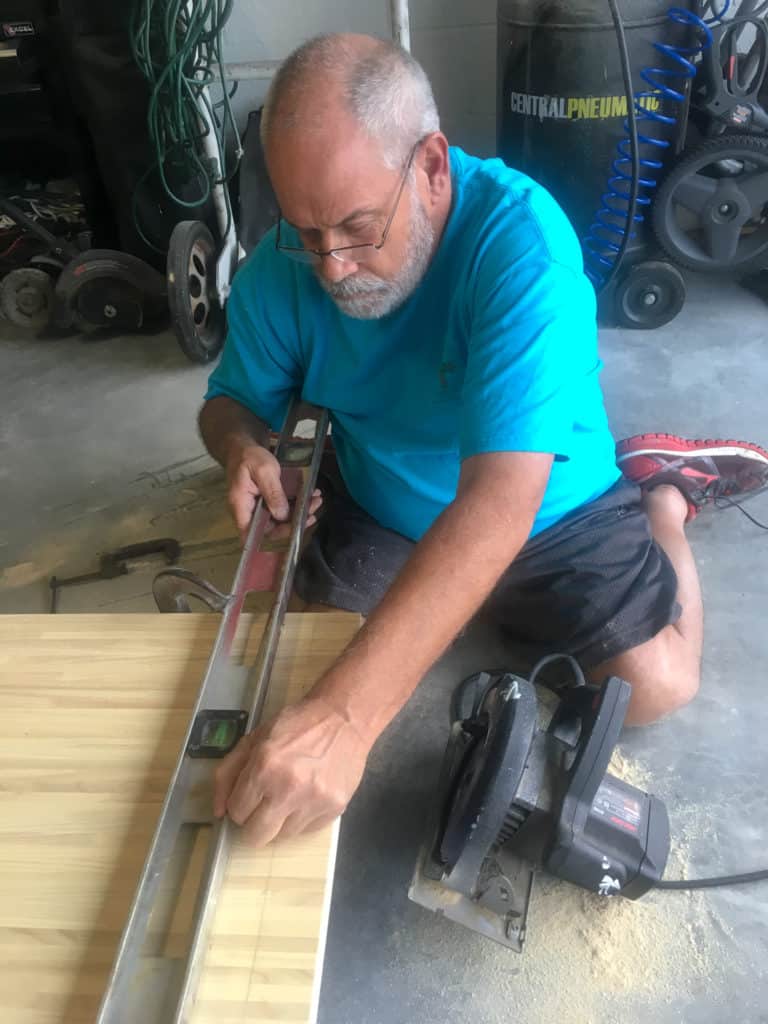
We brought the board over to his house. Then drew out all our lines and clamped down a level as a guide for the saw. Then we performed a test cut, seen below:
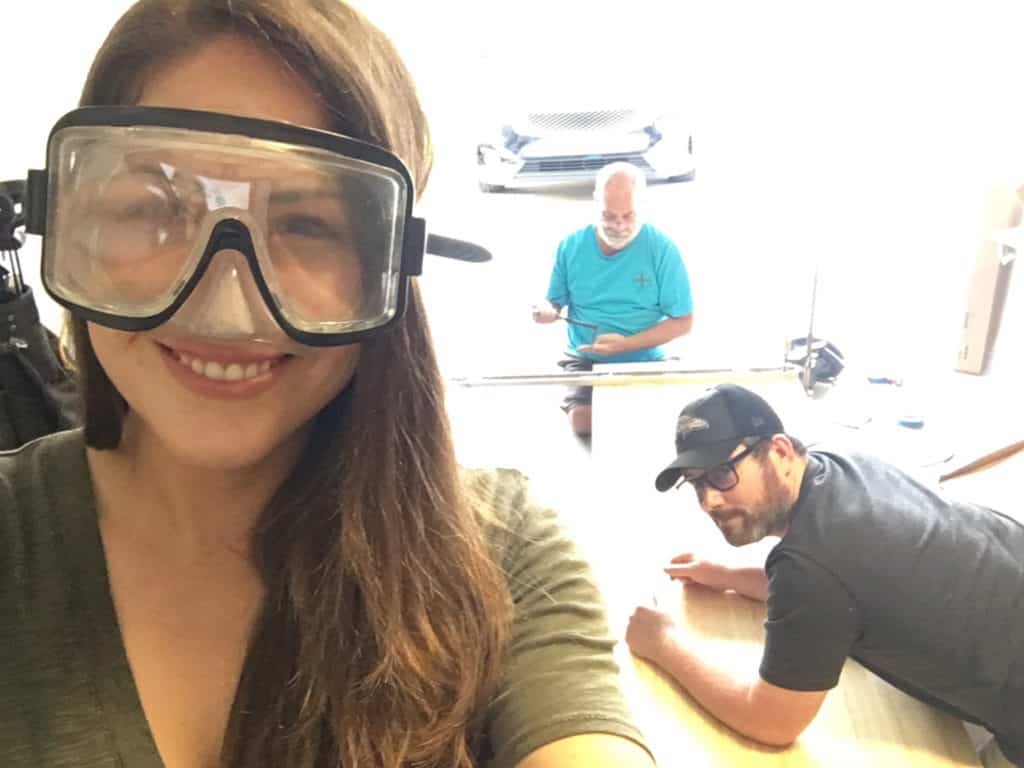
With everything having gone successfully, we strapped ourselves in for the real deal!
Everyone was nervous, but the cut went off without a hitch! We celebrated and then took the countertop back to the RV.
Connecting It All Together
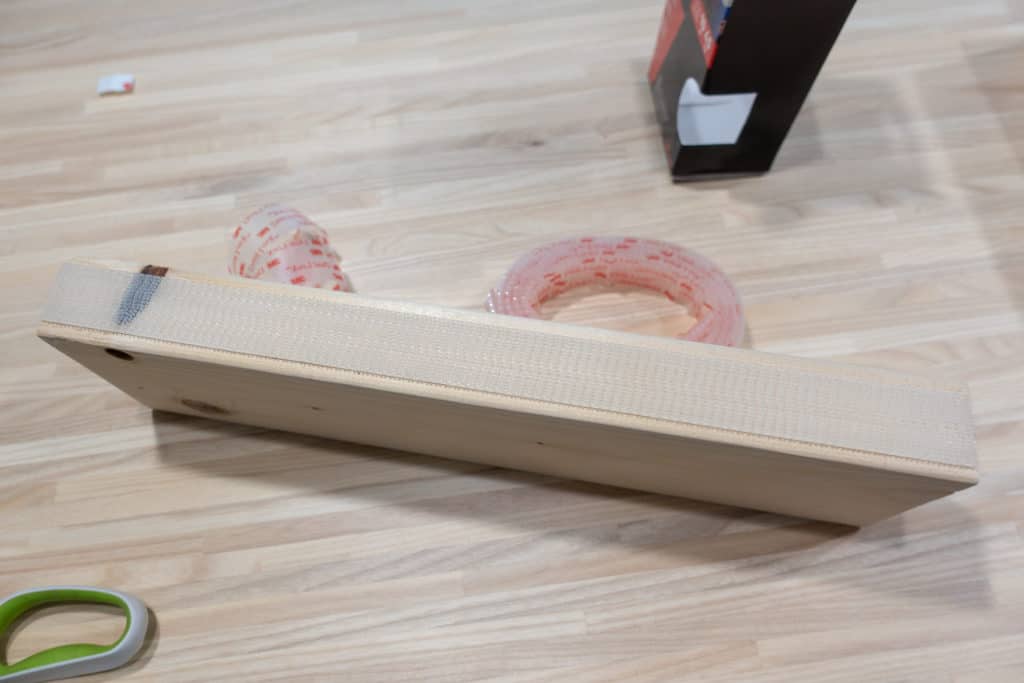
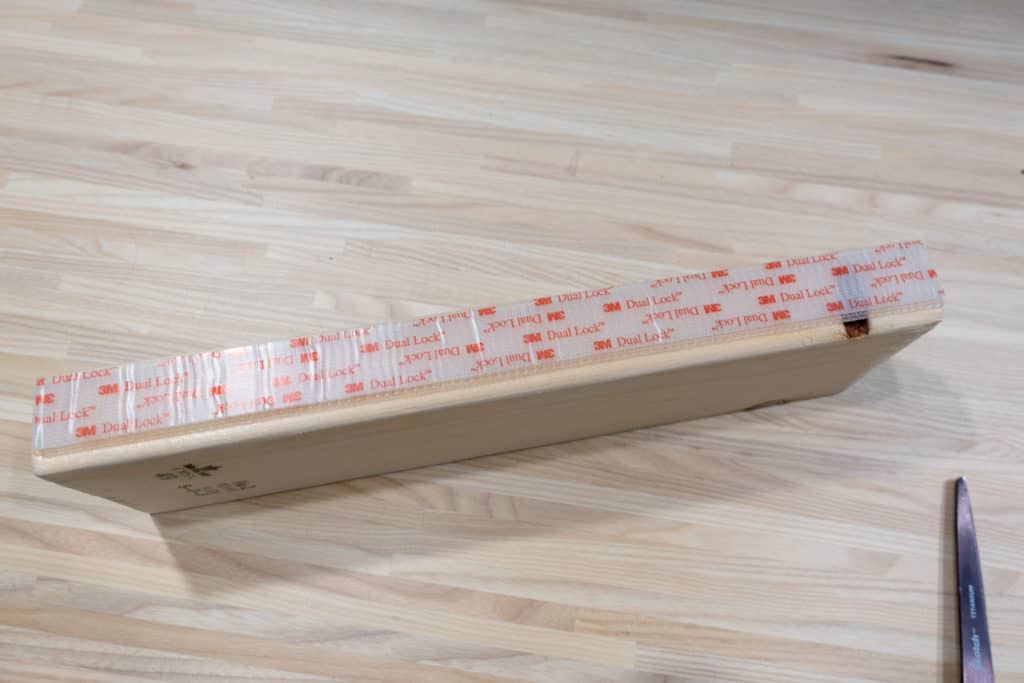
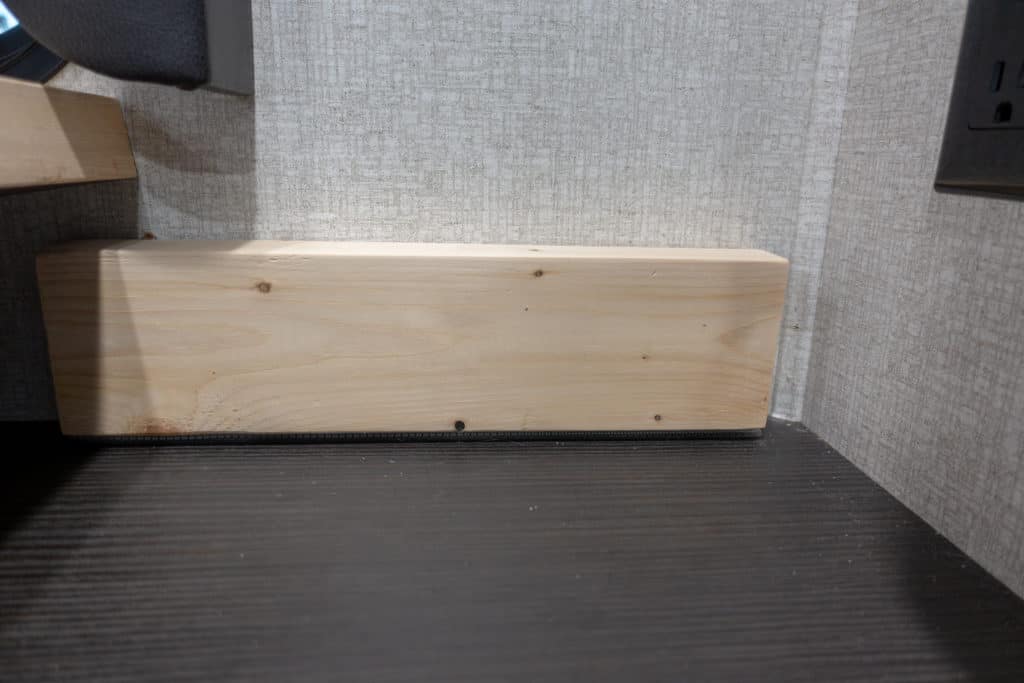
To complete the now almost 100% Ikea home RV office project and connect it all, we have two 2x4s fixed underneath on the sides. They keep the tabletop level and in place.
We have screws through L brackets on the top, connecting the 2×4 to the tabletop.
Then on the bottom, we have a heavy-duty command strip that holds the 2×4 into place on the cabinet that came pre-installed in the fifth wheel.
We didn’t want to drill into those pieces. The thought was that someday if we re-sell, those cabinets would still be in good shape. And then they could be used in conjunction with the couch again.
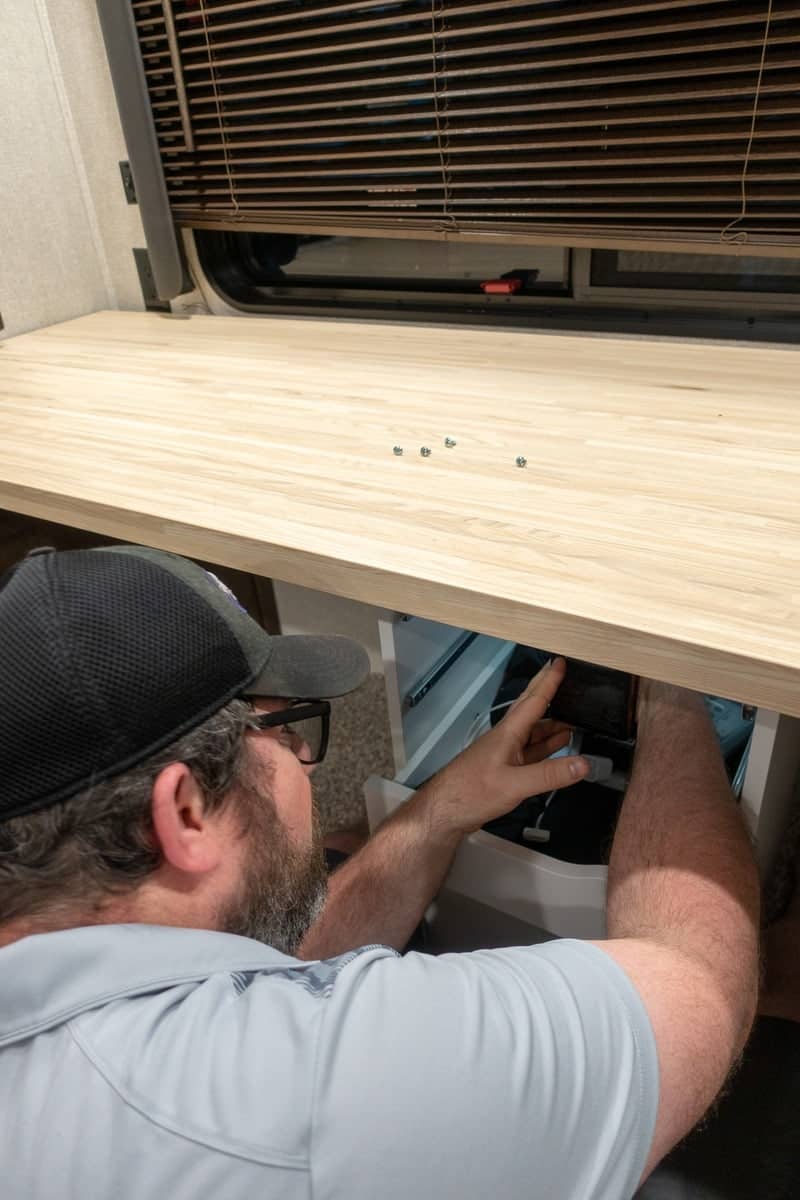
The tabletop also connects to the Alex storage cabinet. There are five 1″ long screws going from the inside of the top of the Alex unit, through it and into the desktop, holding those pieces tightly together.

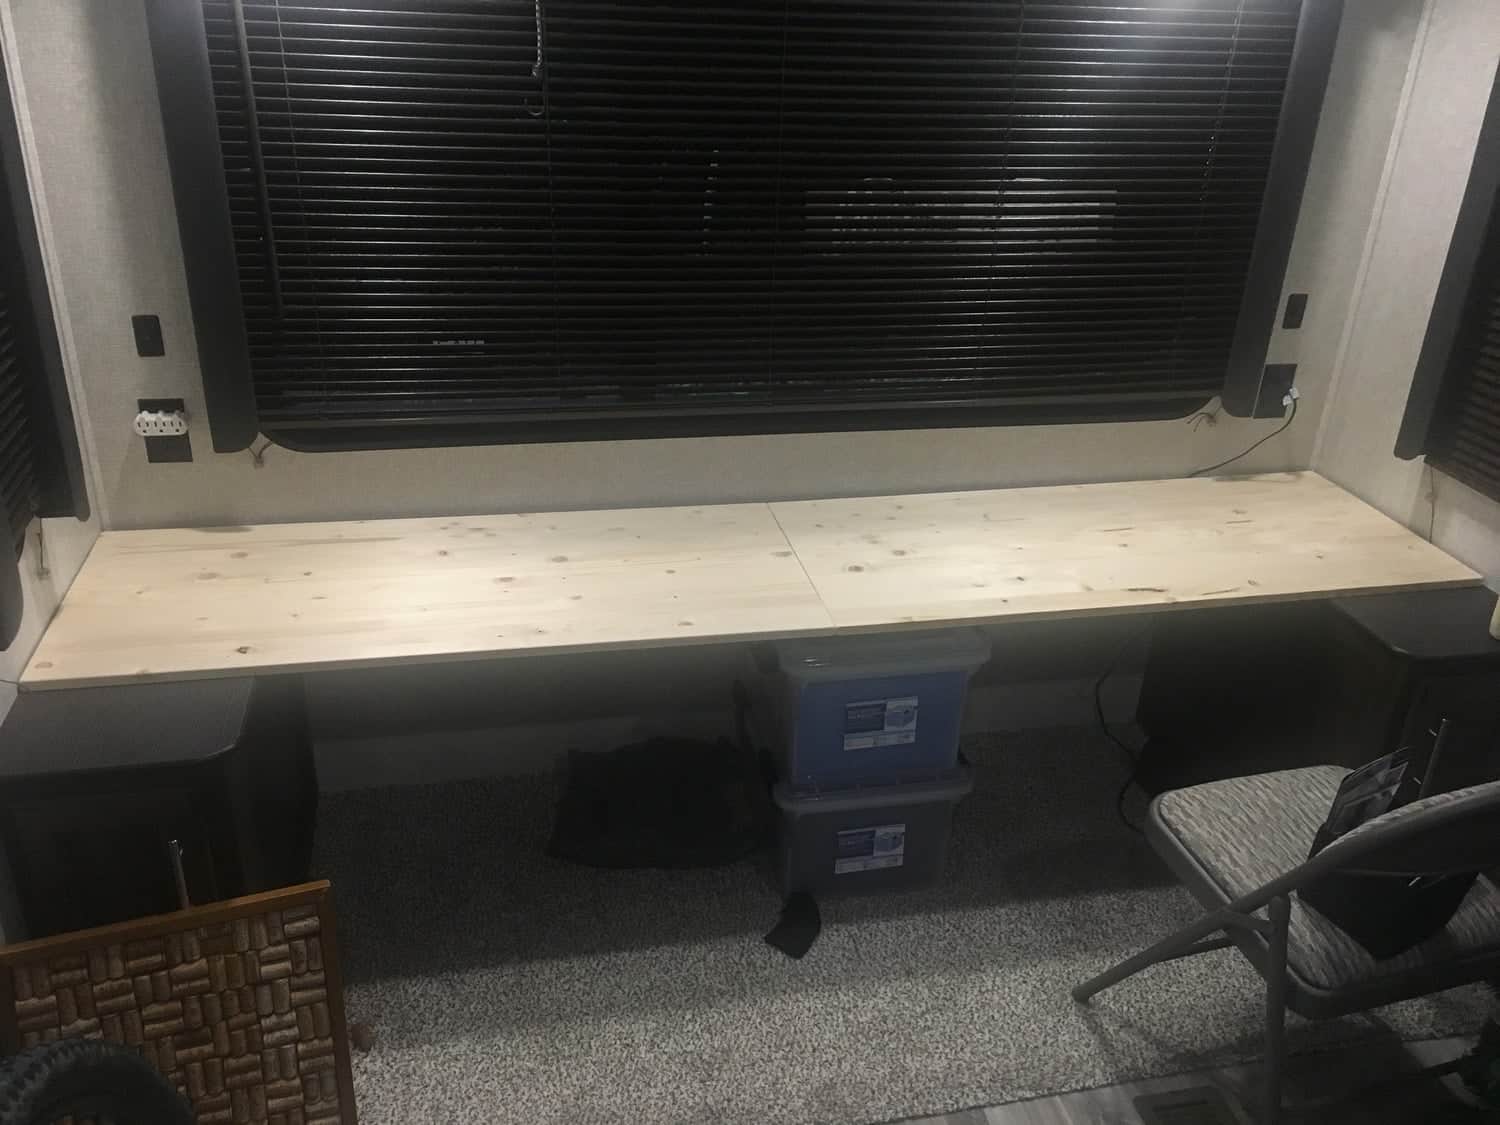
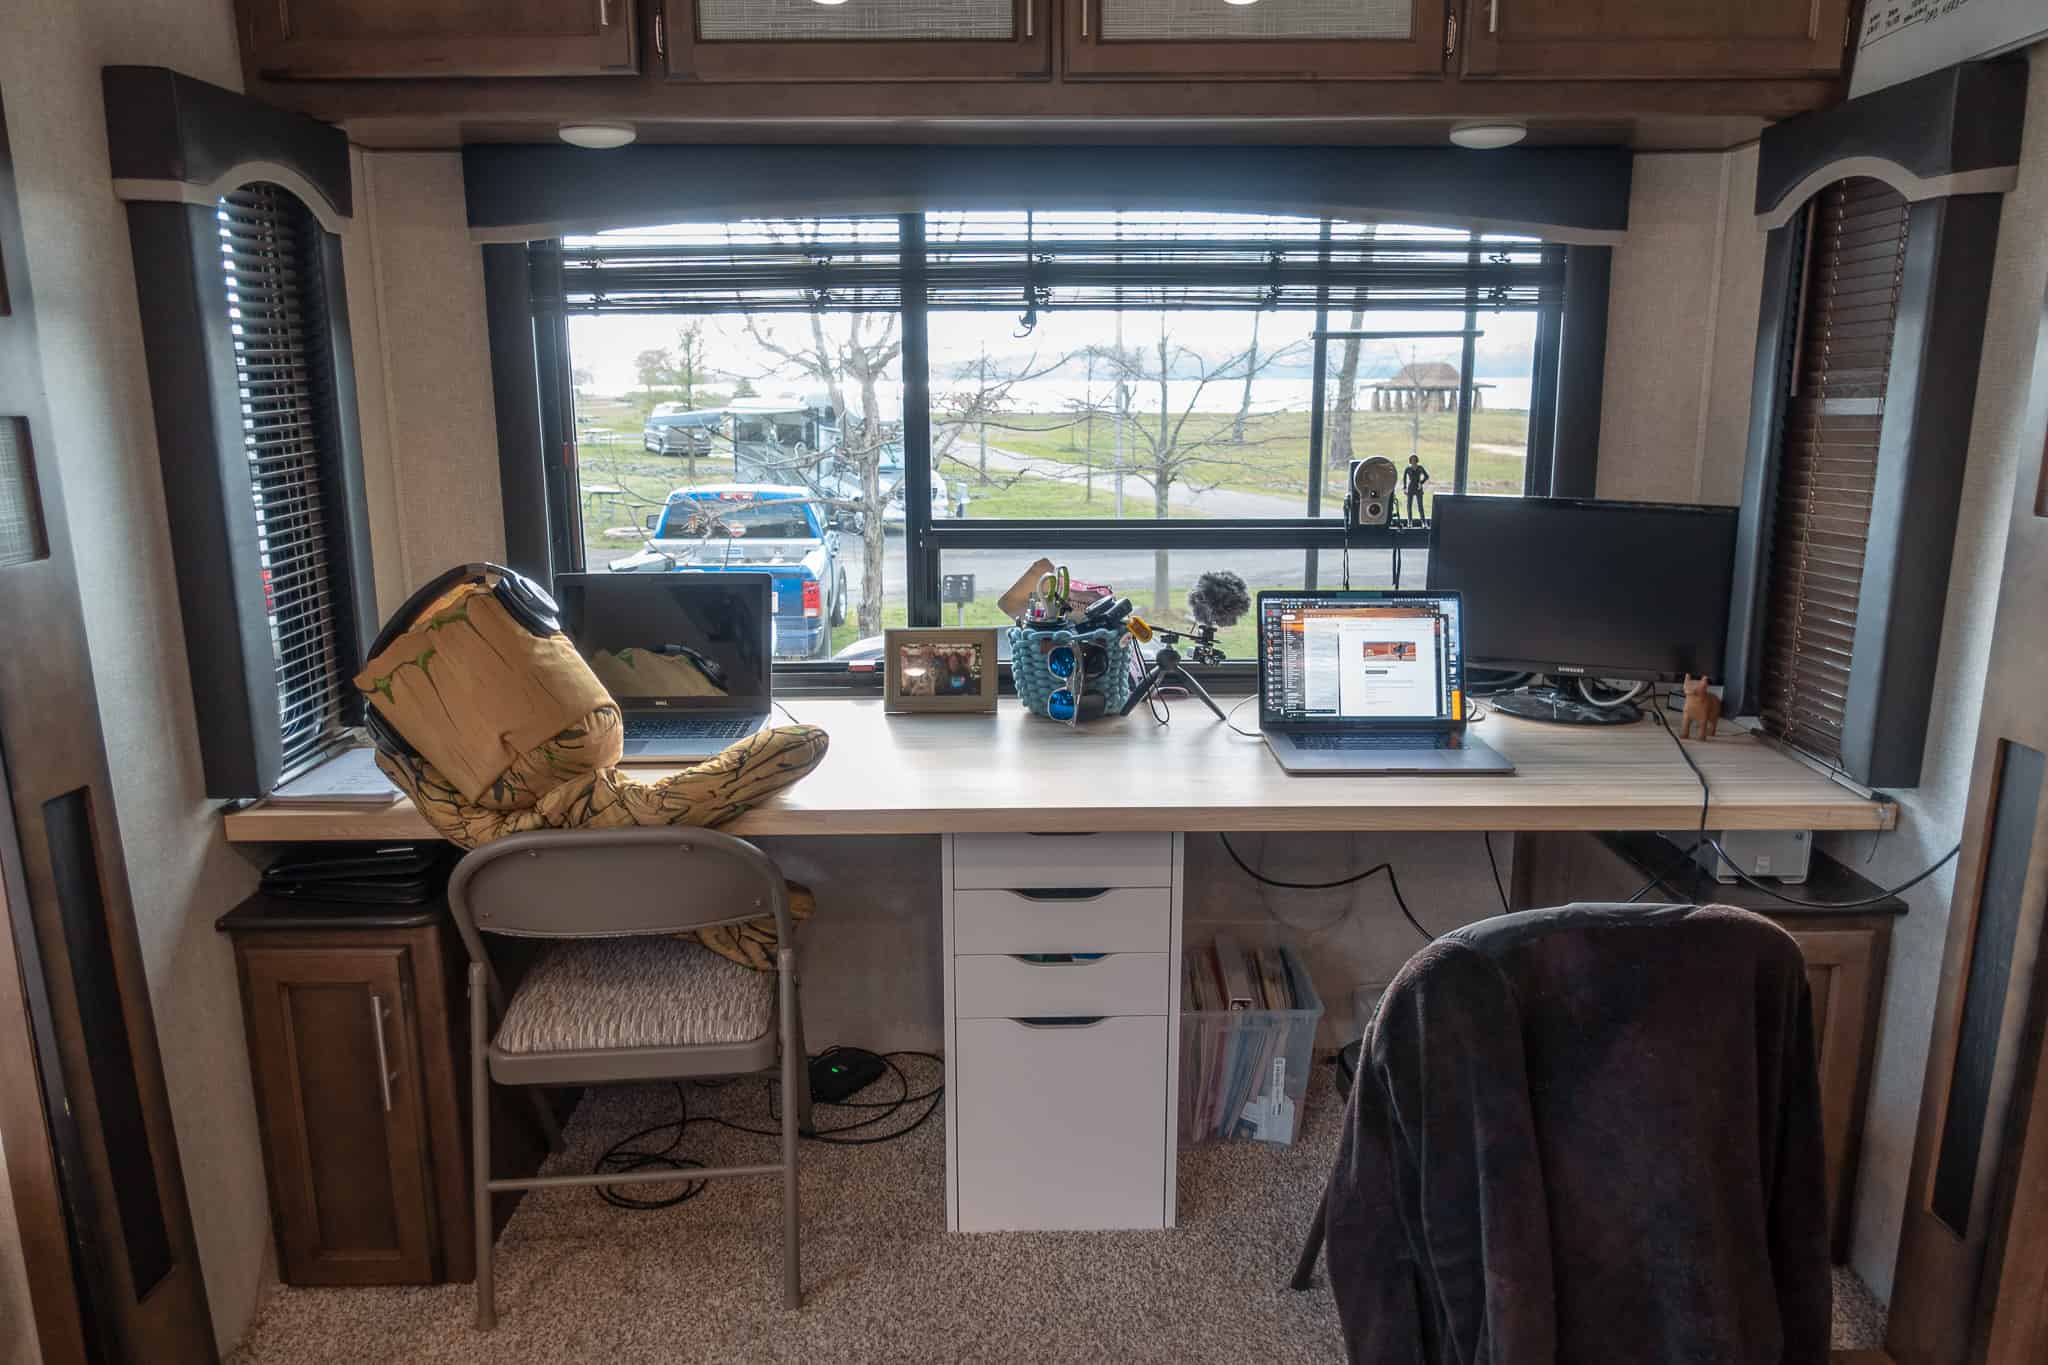
Completed Project: 2 Person Ikea RV Desk with Drawers
Here’s the RV office as of March 2019.
June 2019 Update:
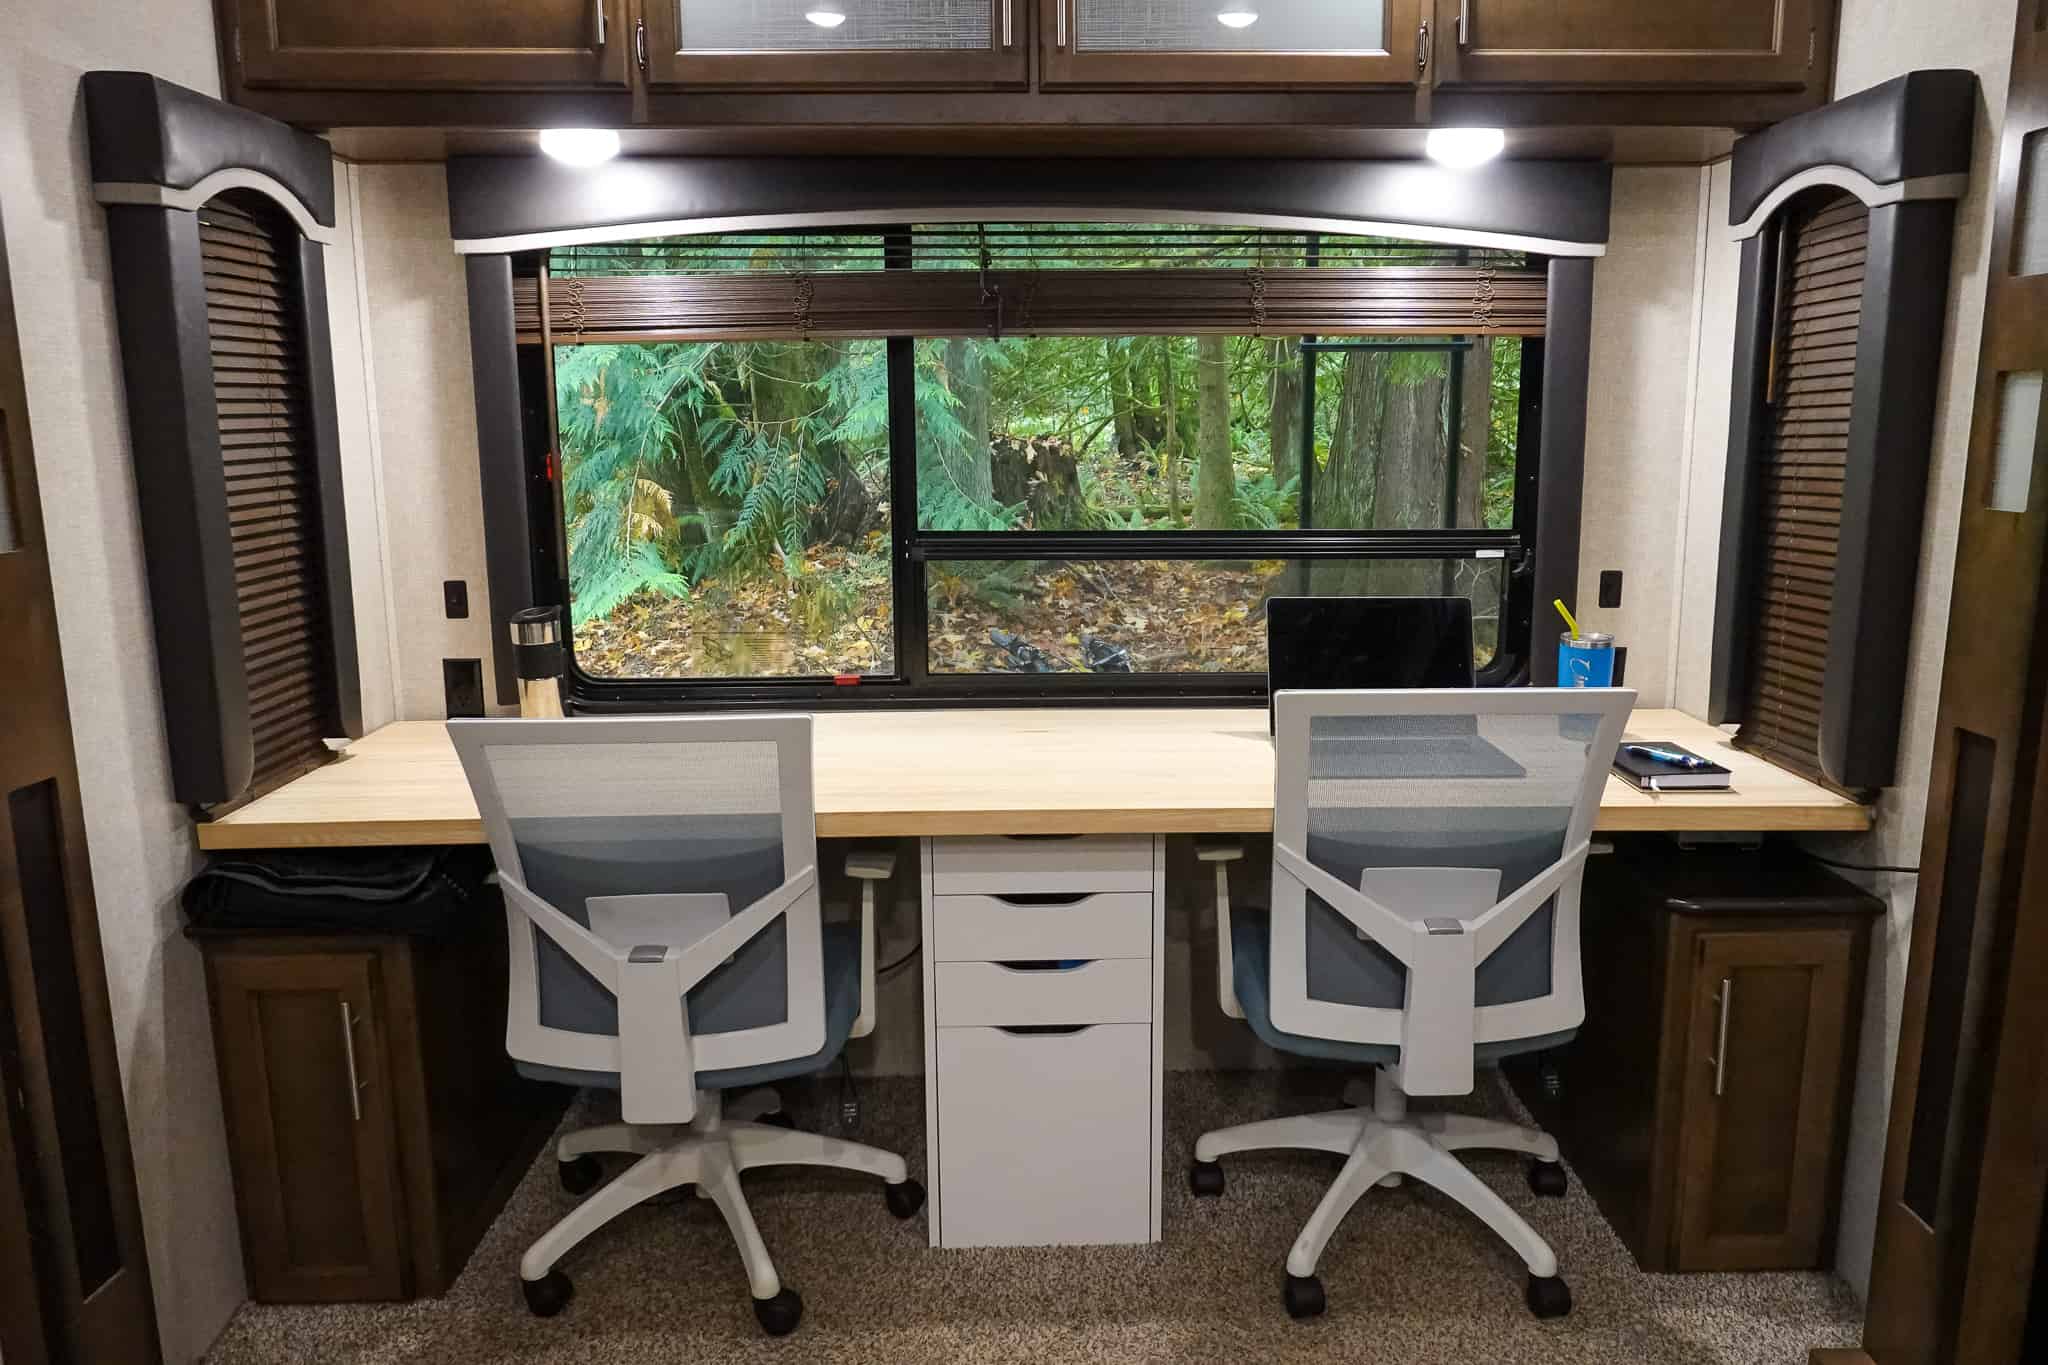
Here’s the RV office as of June 2019. (We got better chairs!)
Adding curtains to our RV workstation will be the next and final update.
November 2019 Update:
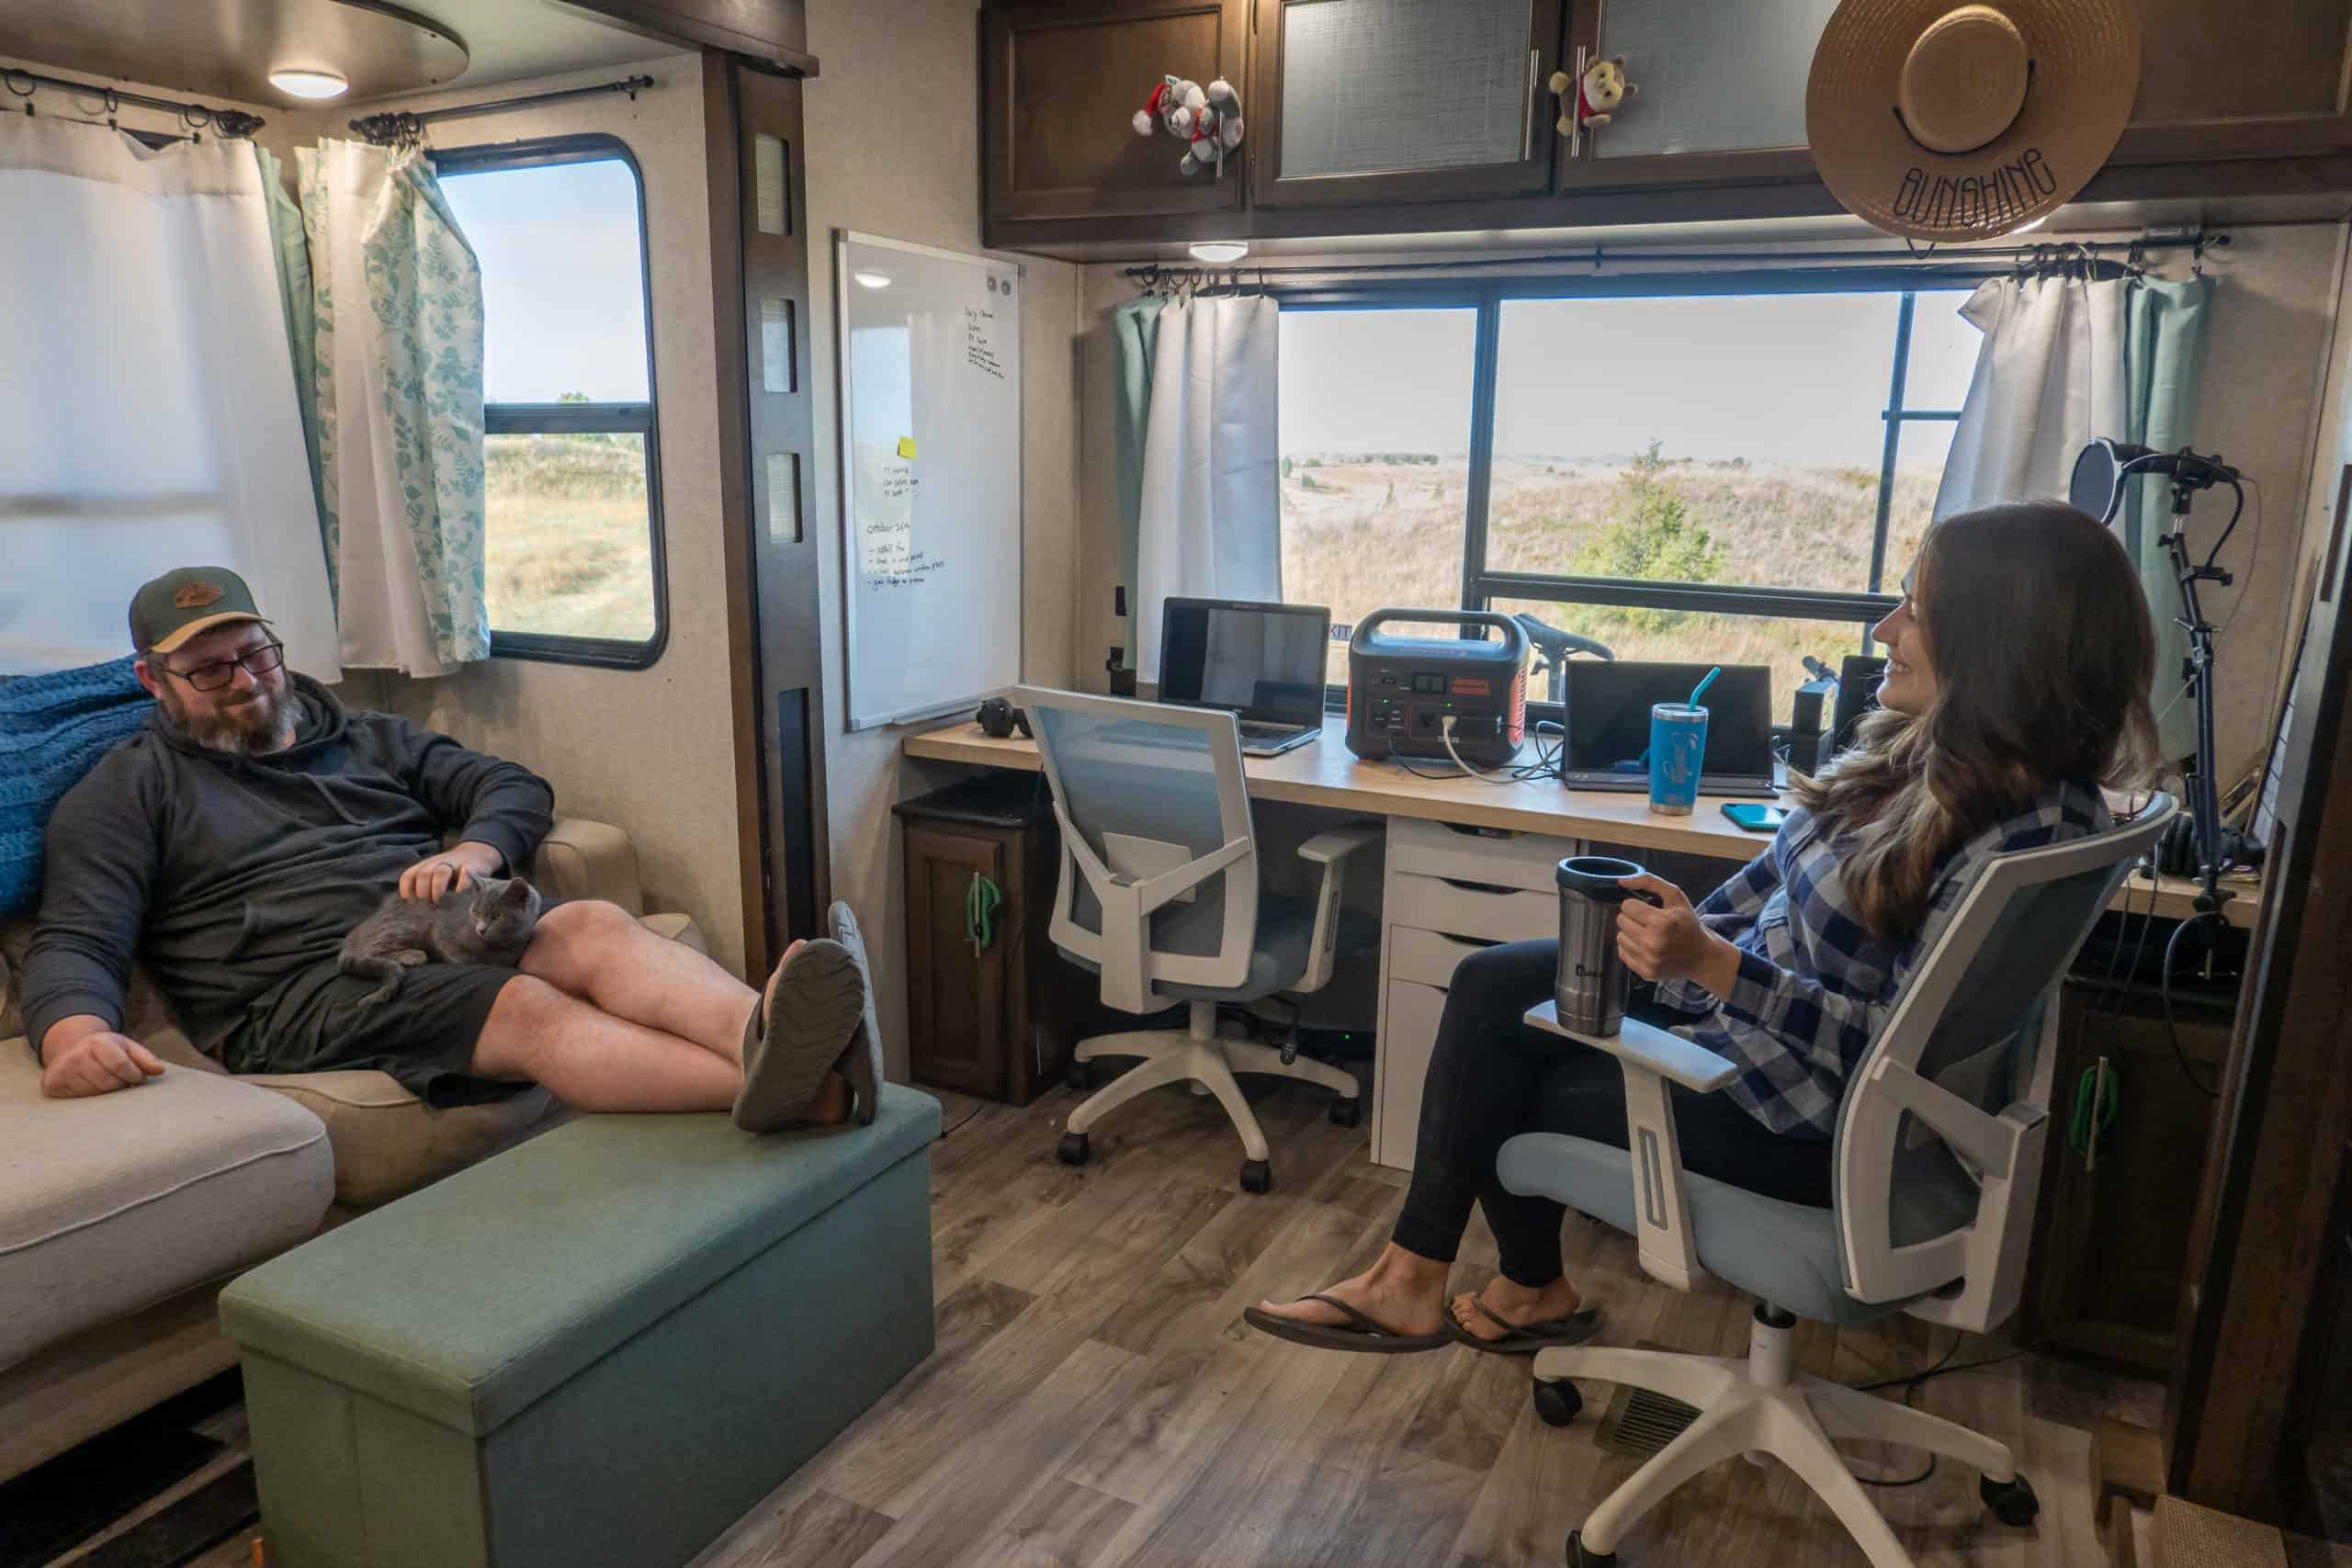
Here’s the RV office as of November 2019. (We installed curtains and removed the blinds!)
What You’ll Need For This RV Desk Project
First Phase Home Depot Losses (AKA Things You Don’t Need): $58
❎ Boards
❎ Stain
❎ Stain Rags
❎ Gloves
❎ Sandpaper
Ikea Trip: $278
Second Phase Home Depot Trip: $35
✅ L Brackets
✅ 2×4
✅ Screws
✅ Heavy Duty Command Stripping
Dad Saw Labor: $0
🤗 Free!
June 2019 Staples Trip: $148
November 2019 Curtain Project: $56
- READY MADE - Blackout curtains sold as 2 panels, each measures 42" width by 45" length. Curtains can cover windows to full width. The pleated style should be 1.5-2.6 times to your windows.
- DURABLE CONSTRUCTION: Made of sturdy metal with a sleek finish, these curtain rods offer long-lasting durability and a stylish look
- Set of 7 Large Clip Rings
Total Dual RV Desk Project Cost: $575
So that’s it so far!
Have you converted a spot in your RV into a dual workstation home office? Or maybe you don’t live in an RV, but have a killer dual desk setup at home?
I’d love to see it! Please email me your pics!
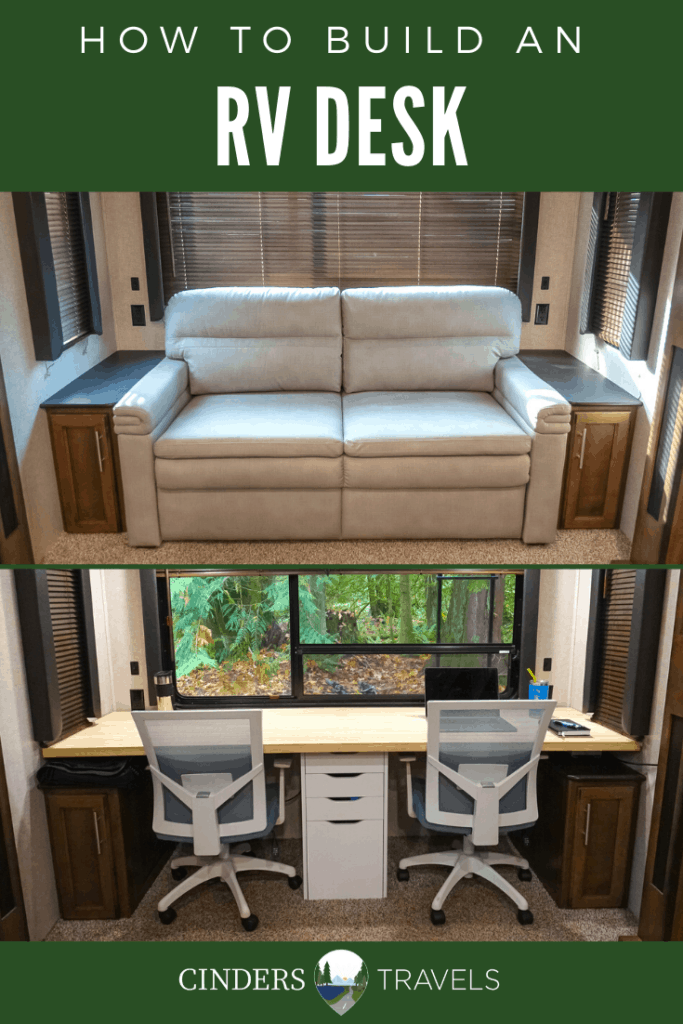
Pinnable Images:

- A Complete Two-Day Guide to Visiting Death Valley from Las Vegas - December 16, 2025
- Hiking the Appalachian Trail: Week 9 – Grayson Highlands Ponies & Longhorns - November 30, 2025
- Appalachian Trail Hike Week 8: Roan Highlands, Rain, & Renewed Motivation - October 22, 2025


